How to Draw an Artist
Do you want to learn how to draw an artist for kids step by step – then this really simple drawing lesson created for you.


By guiding learners through each stage of drawing an artist, the tutorial introduces key skills such as proportion, symmetry, and perspective. These foundational skills are crucial for any artist, and mastering them early helps build confidence and proficiency. Learning how to balance facial features, draw limbs proportionately, and add meaningful details equips young artists with valuable techniques.
The tutorial encourages young artists to think creatively, allowing them to experiment with different expressions, accessories, and colors.
This flexibility nurtures their imagination, helping them explore new ideas and bring unique elements into their drawings. The ability to customize the artist’s appearance – such as their facial expressions, attire, and tools – provides an outlet for self-expression and creativity.
Time needed: 50 minutes
How to Draw an Artist
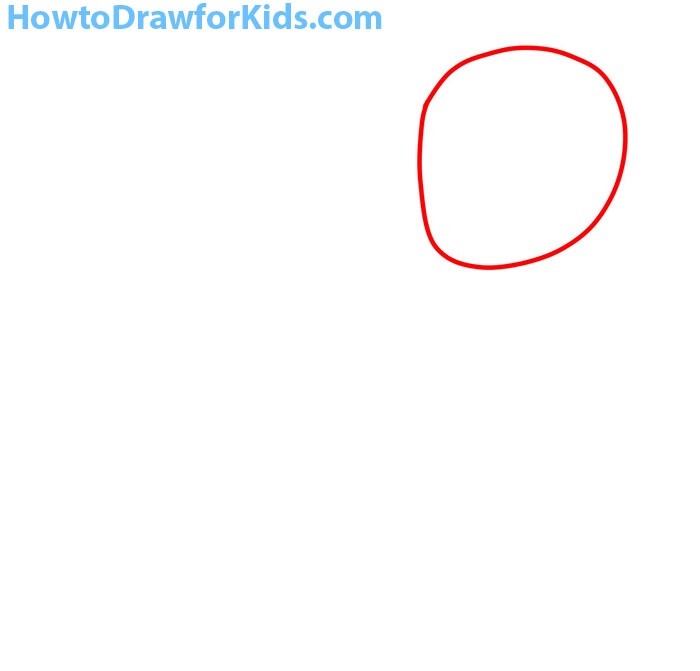
- Outline the head of the artist.
Start by sketching an oval shape to represent the artist’s head. This will form the foundation for the rest of the drawing. This simple outline serves as a basic template, making it easier to build upon with more details and accurately position the artist’s features.
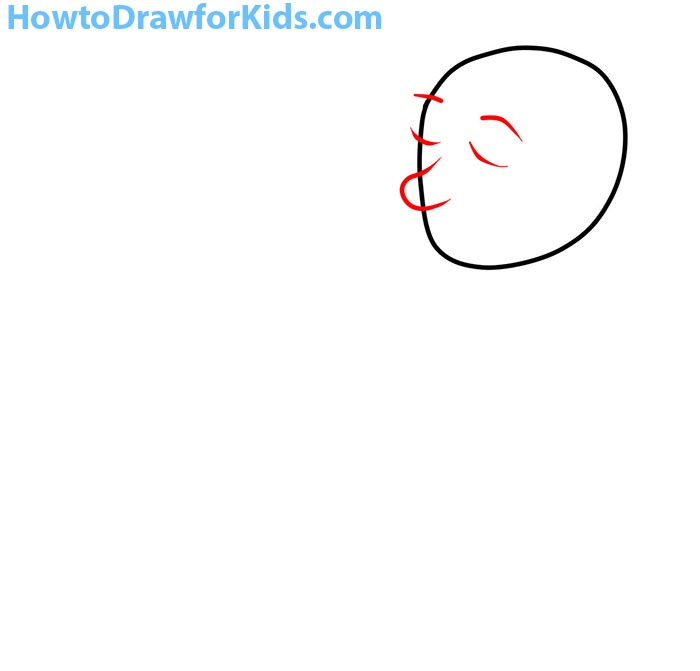
- Add facial features.
Move to the face, drawing the eyes and nose to give the artist’s head some character. Draw the eyes of the artist as two small curves. The nose is represented by a curved line or hook, slightly below and between the eyes, giving a hint of the artist’s facial structure.
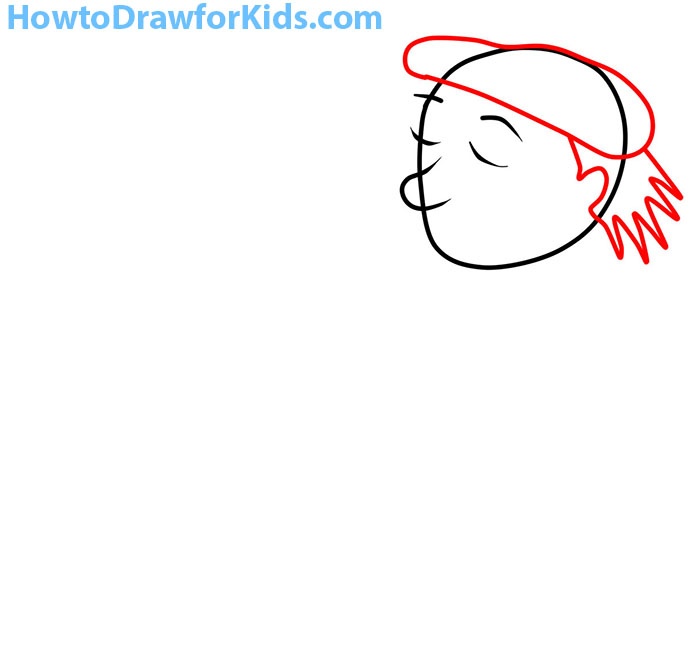
- Adorn the head of the artist.
Proceed to the top and back of the head, drawing a beret to add a touch of flair. The beret is a semicircular shape that sits on top of the artist’s head, curving downwards towards the back. Below the beret, add a small curved line to depict the ear. Extend several jagged lines from the ear downward to show the artist’s hair.
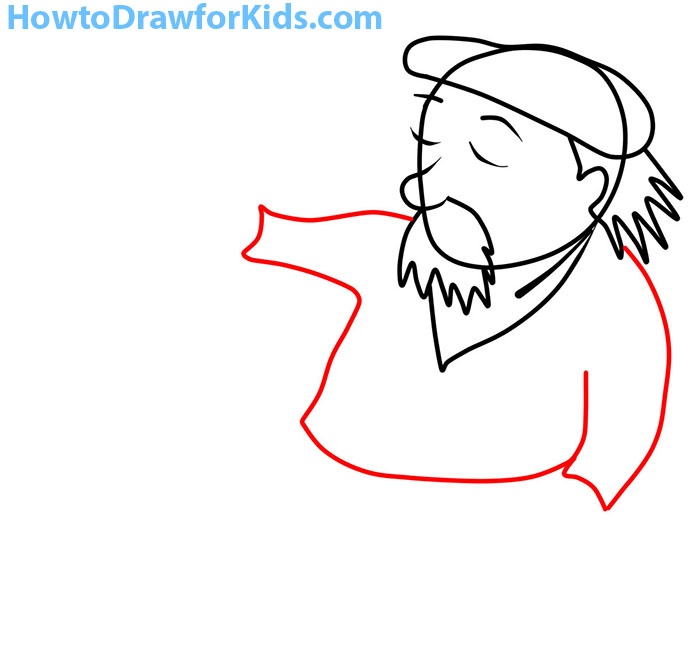
- Add moustache and neckerchief.
Next, focus on the lower face of the artist, drawing a bushy moustache beneath the artist’s nose. This moustache is drawn as a set of curved lines extending outward from the center. Below the chin, sketch a triangular shape to represent a neckerchief, filling the space between the head and torso.

- Form the torso and arms of the artist.
Move on to sketch the torso and arms, creating a rounded form that extends from beneath the head to represent the artist’s body. Draw two rounded shapes to the sides for the arms of the artist, positioning them outward, ready to hold an artist’s tools.
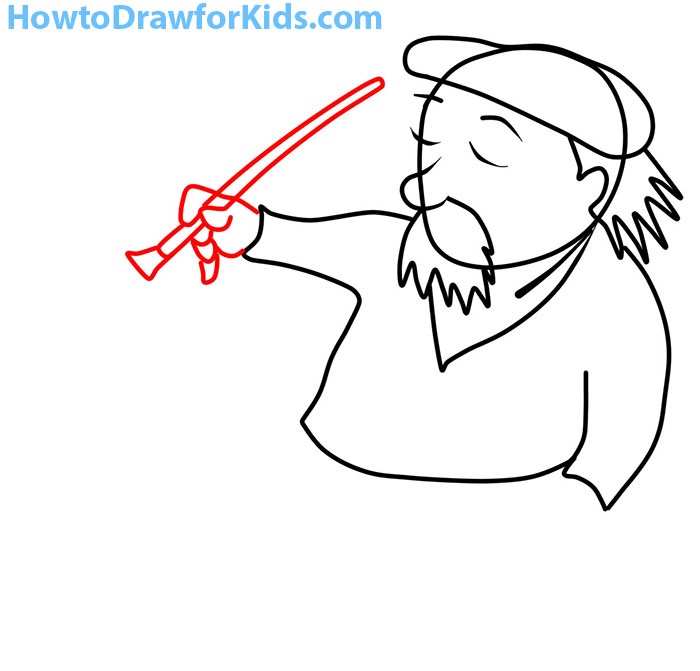
- Detail the right hand with a brush.
With the arms in place, add the artist’s right hand at the end of one arm, clutching a brush. This is drawn as a thin line extending outwards, with a thicker handle and a fine tip to represent the brush. The brush should be slightly angled, suggesting the artist is mid-stroke.
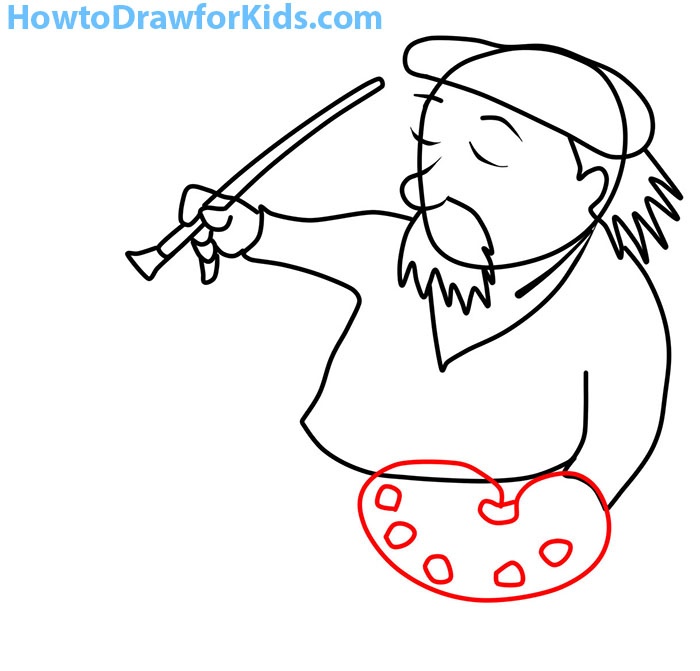
- Detail the left hand with a palette.
Shift focus to the left hand, drawing it holding a circular palette with a small thumbhole. Add several smaller circles on the palette’s surface, representing various paint wells filled with vibrant colors. The palette’s round shape contrasts nicely against the artist’s angular lines, offering visual balance.
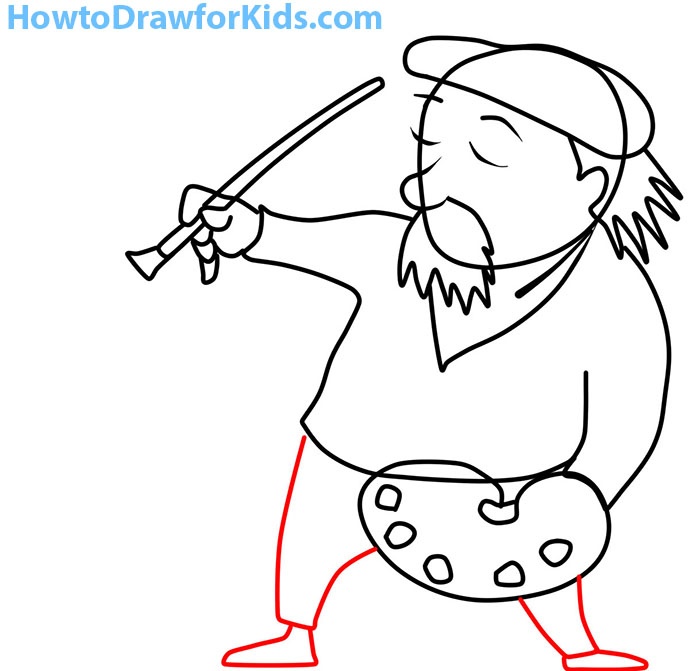
- Draw the legs of the artist.
Below the torso, extend two straight lines downward to form the legs, finishing with curved shapes for feet. These legs provide support, grounding the artist’s figure. Ensure they are proportionate to the torso, maintaining balance in the overall composition.
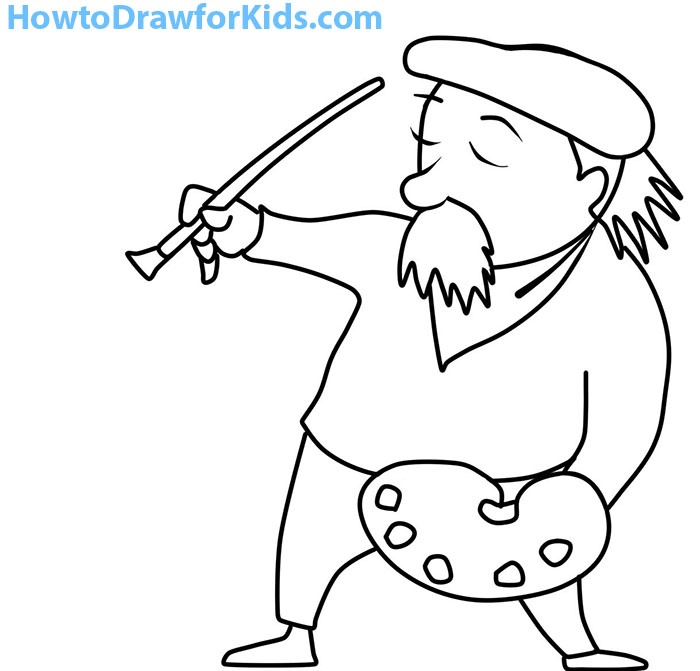
- Refine the artist drawing.
Erase any guidelines, refining the overall structure of your artist drawing. Smooth out lines and ensure proportions are accurate, creating a cohesive and polished appearance. This step brings together the previous elements, readying the drawing for its final touch.
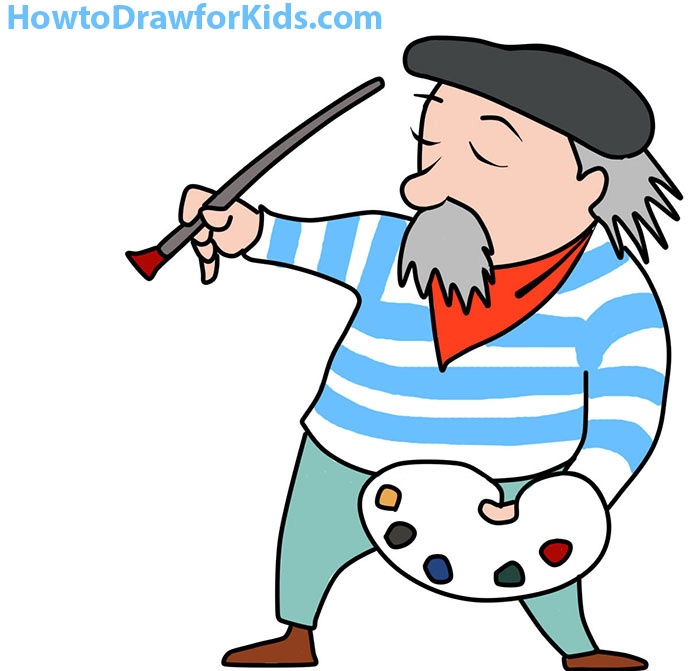
- Color your artwork.
Add vibrant colors to the artist, bringing the character to life. Color the beret, neckerchief, clothing, and accessories, ensuring each element stands out distinctly. This final step completes the drawing, showcasing a unique portrayal of an artist at work.


Congratulations on completing the tutorial on how to draw an artist! I hope you found each step engaging and informative. Drawing people can seem challenging at first, but with simple, clear guides, it becomes a rewarding endeavor.
I often provide tutorials on drawing various individuals, making the process accessible to artists of all levels. Previous guides include lessons on how to draw a knight and a boxer, both of which break down their complex appearances into manageable steps. These simple guides enable you to explore different professions and personalities through drawing. Happy drawing!


