How to Draw a Bow and Arrow
Learn how to draw a bow and arrow in 6 easy steps with my tutorial. Great for budding artists, this guide nurtures artistic skills, imaginative design, and cultural insight

This tutorial on how to draw a bow and arrow is an excellent resource for young artists, offering them a structured and engaging way to develop their skills. Here’s a detailed look at how it benefits aspiring artists.
The bow and arrow carry historical and cultural significance, ranging from ancient weaponry to modern sports. This tutorial provides an opportunity for young artists to explore these themes, prompting discussions about history, mythology, and contemporary uses of the bow and arrow. Such exploration broadens their understanding of how art connects to wider cultural contexts.
Drawing requires precision and control, which in turn helps develop fine motor skills. As kids sketch out the bow’s curves, the string, and the arrow, they refine their hand-eye coordination and dexterity. This improvement is beneficial for artistic pursuits and translates to other areas of life, such as writing and other crafts.
Understanding how to arrange and balance elements on a page is crucial for visual-spatial awareness. This tutorial introduces young artists to these concepts, teaching them how to position lines and shapes relative to each other. For instance, aligning the bowstring and arrow along with balancing the bow’s curves helps reinforce the idea of creating a cohesive composition.
Time needed: 30 minutes
How to Draw a Bow and Arrow
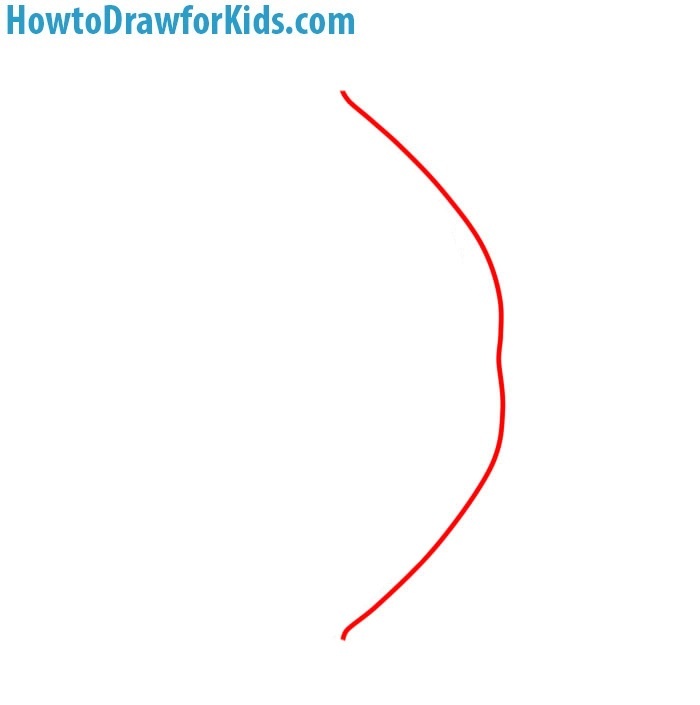
- Draw the main curve of the bow.
This curve represents one side of the bow’s body, starting from the top and sweeping down in an elegant, elongated W shape. The bow’s width and length should be proportional, and the curve should convey a sense of tension, hinting at its potential energy when the arrow is drawn.
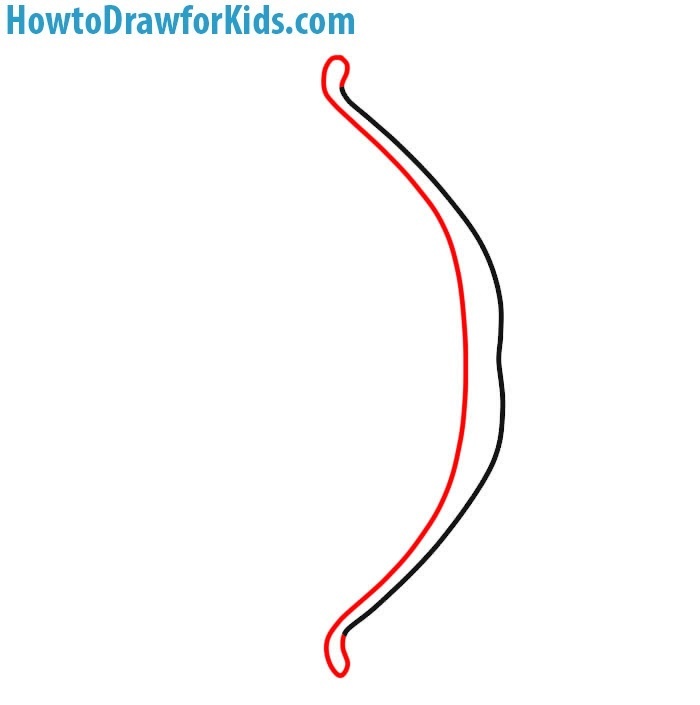
- Add the second curve of the bow.
Draw another curved line, keeping the same shape and flow, but with a slight offset to create the full bow’s body. This second curve helps to complete the bow’s main frame, giving it a balanced look. Ensure the top and bottom of the bow curves connect evenly, indicating the natural, taut structure of the bow.
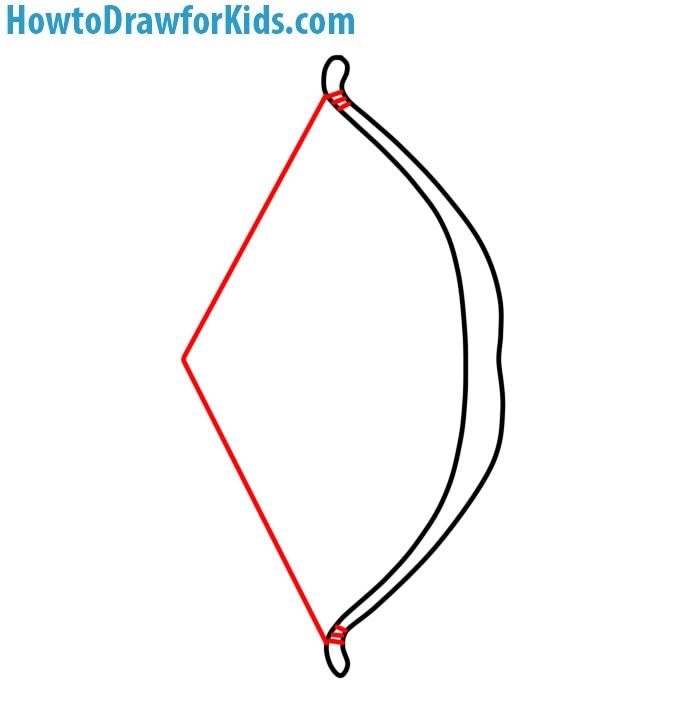
- Draw the bowstring.
Connect the top and bottom ends of the bow with a V shaped line. This line represents the bowstring, which should have a slight tautness to it, even when the arrow isn’t drawn. Position the string centrally between the bow’s curves, highlighting the balanced design.
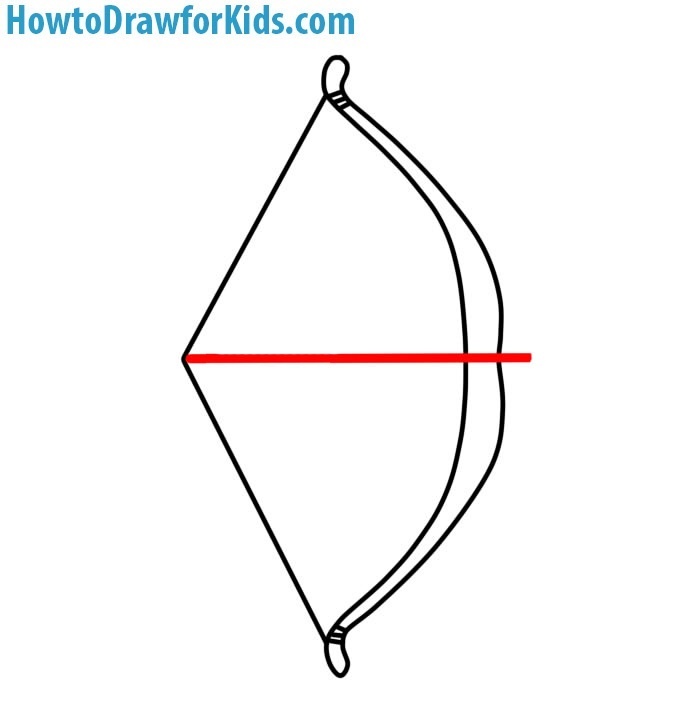
- Insert the shaft of the arrow.
This line runs horizontally, right at the midpoint of the bow’s body, perpendicular to the string. This line sets up the position for the arrow, acting as a visual guide to its trajectory. Make sure it’s straight and evenly spaced to maintain the bow’s balance.
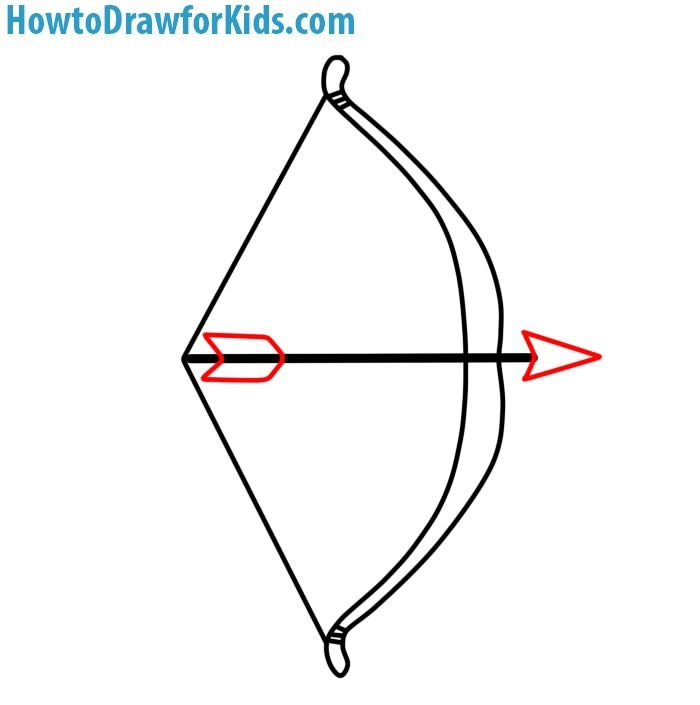
- Detail the arrow.
Following the guiding line from Step 4, sketch a pointed triangular tip on the right end and a feathered fletching at the left end. This arrow completes the bow’s functional design, showing it in a ready-to-shoot position. Ensure the arrow is proportional to the bow’s size.
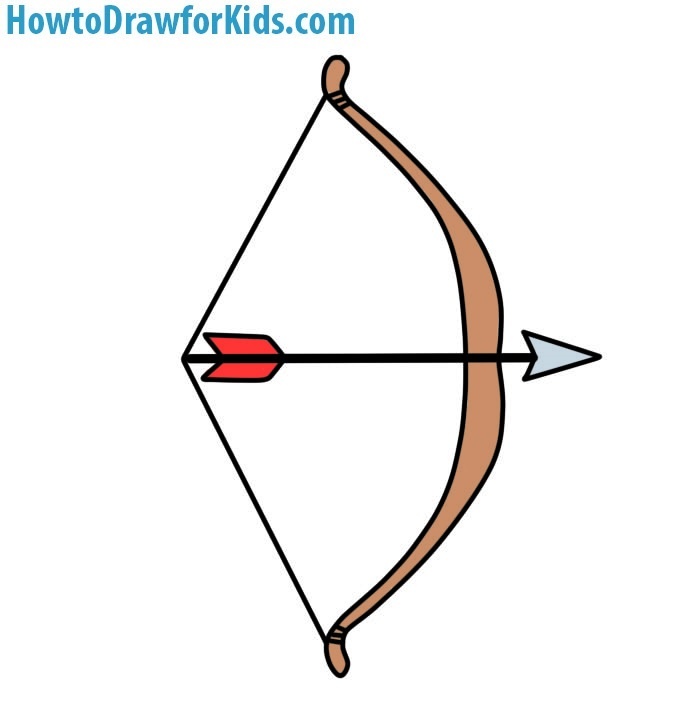
- Finish the bow and arrow drawing.
Color in the bow’s body with a wood-like shade. You can add texture lines to indicate its material, and emphasize the arrow’s details with defined tip and feather markings. This final step ties everything together, presenting a complete bow and arrow drawing, ready for action.

Try drawing the bow and arrow in various artistic styles. Explore minimalist, cartoonish, or detailed, realistic renditions, expanding your versatility as an artist. Experimenting with different techniques, such as shading, texturing, and line work, also deepens your understanding of how to depict form and dimension.
Take your drawing a step further by incorporating it into a larger scene. You can create an archer character, add a target for the arrow to aim at, or set the illustration in a forest or medieval landscape. This develops your skills in creating complex compositions and nurtures storytelling abilities.
Branch out from the bow and arrow to draw related objects, such as quivers, targets, and other hunting or sports equipment.


I agree with John
I agree with John but guns for kids is not good.
thx for the help