How to Draw a Minigun
With the help of this simple step-by-step-step lesson on how to draw a minigun for kids, you will learn how to do it in 10-20 minutes.

Learning to draw a minigun provides several benefits, offering both educational and artistic value.
Firstly, the tutorial introduces artists to basic geometric shapes and how these can be combined and transformed into a ntricate design.
This foundation strengthens their understanding of form and proportion, essential skills for any artist. Additionally, the minigun’s design incorporates various mechanical elements, helping budding artists explore different types of textures, such as metal and plastic, which enhances their shading and detailing skills.
Time needed: 30 minutes
How to Draw a Minigun
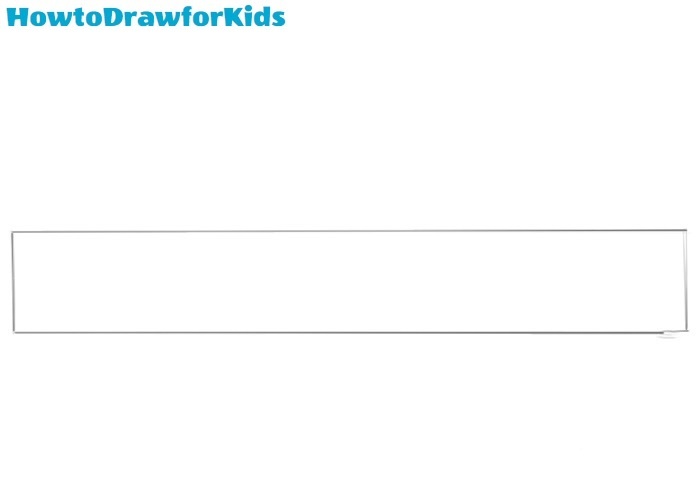
- Draw the basic shape of the minigun.
Start by sketching a long, rectangular shape to form the main body of the minigun. This serves as the foundation for the rest of the minigun drawing. Make sure the rectangle is slightly taller than it is wide, with straight edges connecting smoothly.
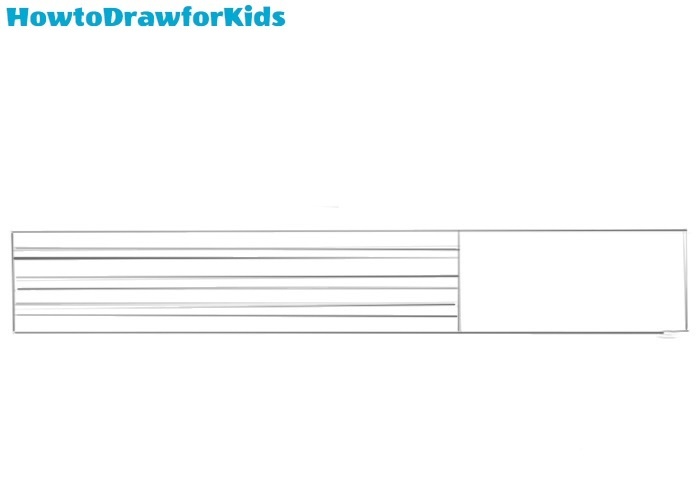
- Detail the barrels.
Next, draw a series of parallel horizontal lines at the front of the rectangle. These lines represent the multiple barrels of the minigun, which are key to its design. Ensure they are horizontal, straight and evenly spaced. The minigun barrels should occupy 2/3 of the area of the rectangle from the first step.
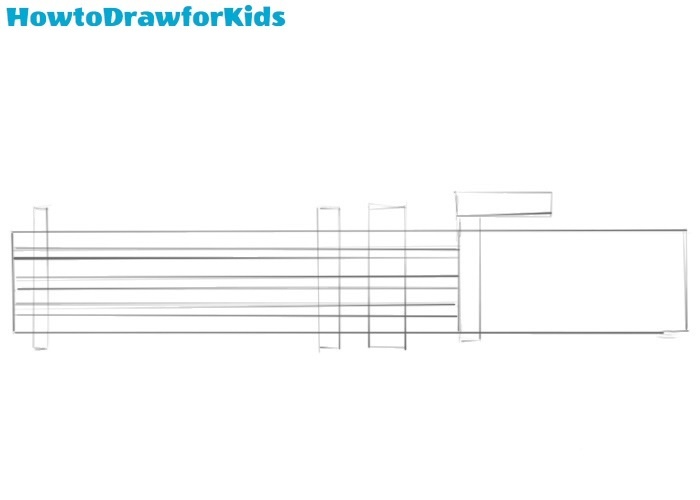
- Add the barrel clamps and front handle.
Now, add two vertical bars across the barrels near the front, serving as clamps to hold them together. These bars break up the horizontal lines, adding structure to the design. Then, introduce a small handle extending upward from the minigun’s main body.
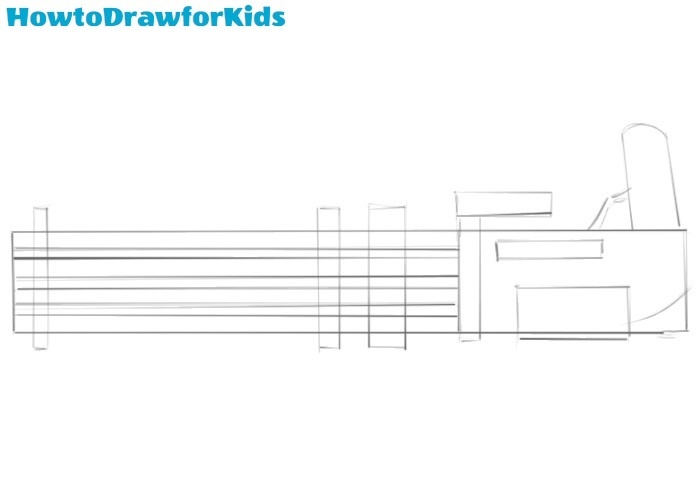
- Illustrate the mechanisms and rear handle.
At the back, draw two rectangles of different sizes to represent the controls. Next, add a handle extending from the upper part of this rectangular section, curving upwards to resemble a rear grip. Draw the trigger at the junction of the minigun body and the rear handle.
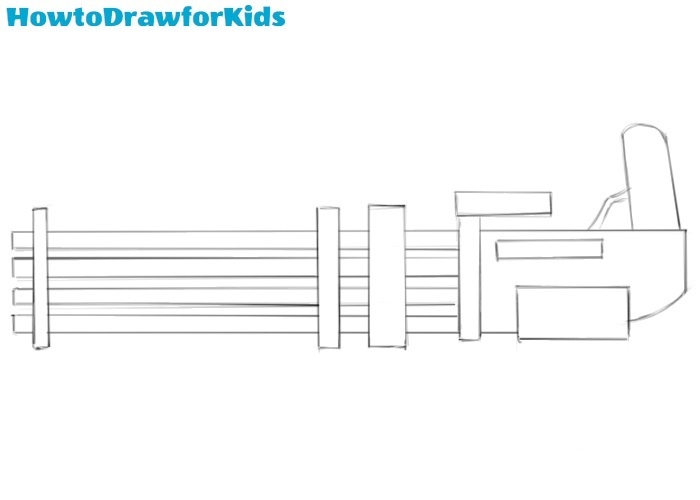
- Refine the drawing and remove the guidelines.
Begin by carefully erasing any guidelines and auxiliary lines from earlier steps, ensuring the primary structure of the minigun remains clear and undisturbed. Focus on eliminating any remaining rough or overlapping lines to create a smooth and clean minigun drawing.
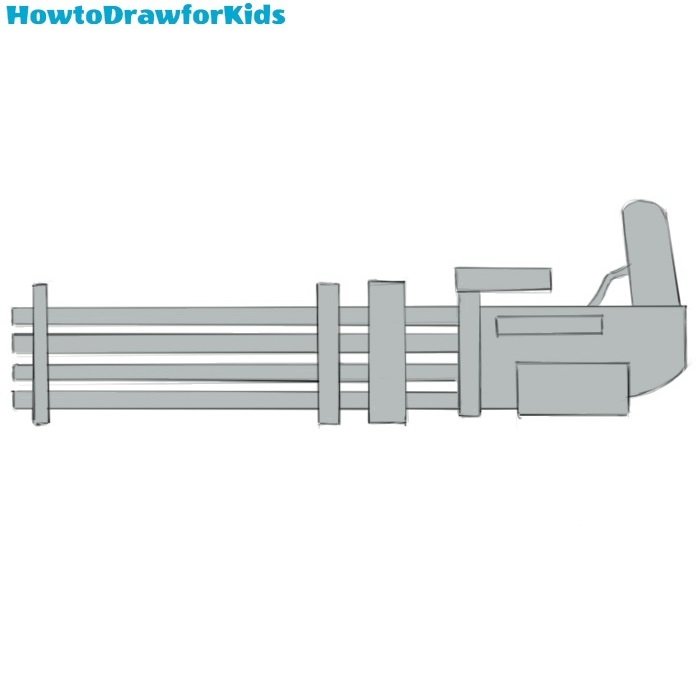
- Color the drawing.
Use different tones of gray or metallic colors to reflect the minigun’s metallic nature, highlighting specific areas for visual contrast. If desired, you can add highlights using white and shadows using darker shades of gray to make your minigun drawing more dimensional.


Today’s lesson guided you through the process of drawing a minigun, breaking down its complex structure into manageable steps.
This tutorial provided an engaging project for young artists and helped them build key skills, including proportion, coloring, and detailing. Remember to revisit the final steps to refine and color the minigun, creating a polished and balanced drawing.
For those eager to explore similar topics, be sure to visit my other tutorial, including lessons on how to draw a gun and a tank. I’m confident you’ll find these lessons equally enjoyable and valuable in your artistic journey. Keep practicing, and happy drawing!


