How to Draw a Crusader Helmet
Learn how to draw a crusader helmet step by step. Perfect for kids and beginners. Add a touch of medieval flair to your art skills!


Hello everybody and welcome to Howtodrawforkids.com where I will show you how to draw a crusader helmet easily.
The crusaders were actually knights, and in one of the previous drawing guides we showed you how to draw a helmet for a knight, but this lesson will be slightly different.
Time needed: 30 minutes
How to Draw a Crusader Helmet
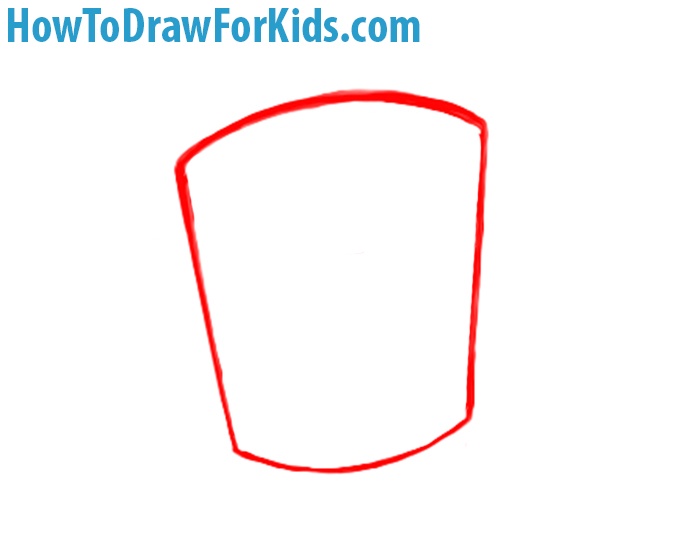
- Crete the basic shape of the crusader helmet.
Begin by drawing the fundamental outline of your crusader helmet. Start by drawing a line for the base, then construct the sides by sketching two vertical lines that curve slightly inward as they ascend. Connect these sides with a curved line at the top, completing the cylindrical shape.
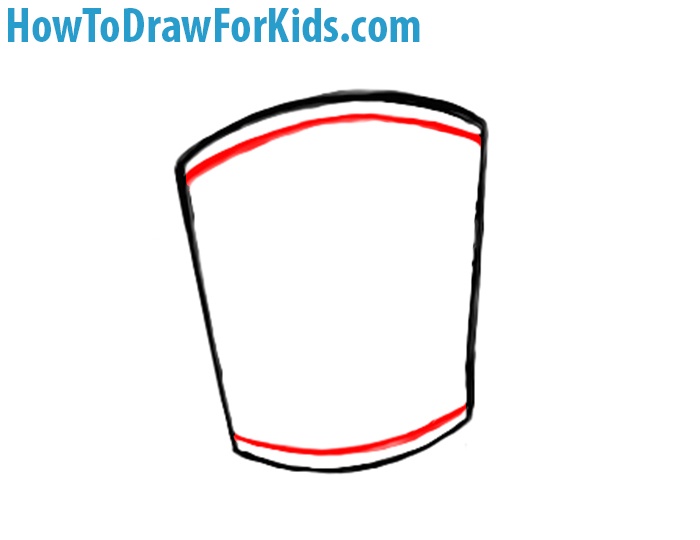
- Detailing the crusader helmet.
Now, add the brims to your helmet to provide structure and depth. Sketch a thin, slightly curved band along the top edge, following the contour of your initial outline. This represents the upper brim and adds a layer of thickness to the helmet. Similarly, draw a parallel band along the bottom edge.
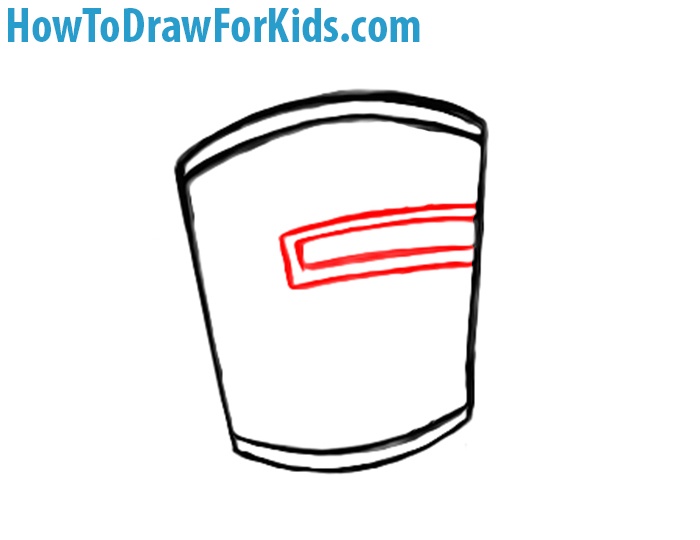
- Draw the visor of the helmet.
In this step, you’ll be drawing the visor, the central feature of the helmet. Begin by placing a horizontal rectangle across the face area, positioned about one-third down from the top brim. Then draw another one horizontal rectangle inside the first one.
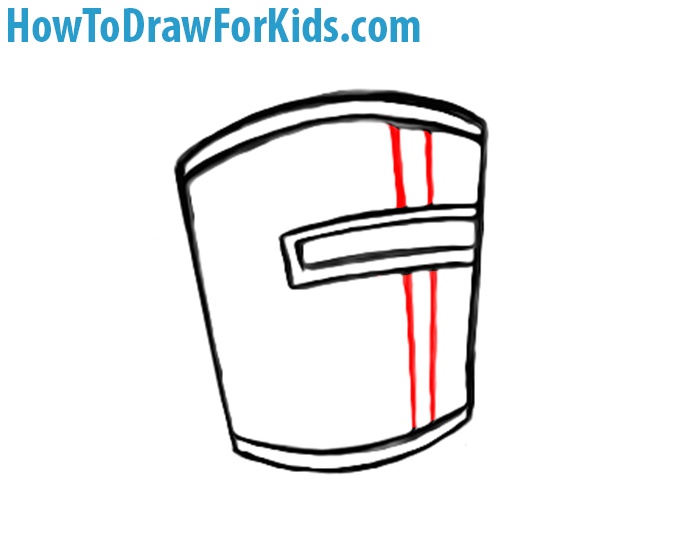
- Draw the stiffening line at the middle.
Enhance the structural integrity of your helmet by adding a stiffener, which is a vertical metal strip at the front. To do this, draw two parallel vertical lines that bisect the visor rectangle and extend from the top brim to the bottom. The space between these lines should be narrower than the visor itself.
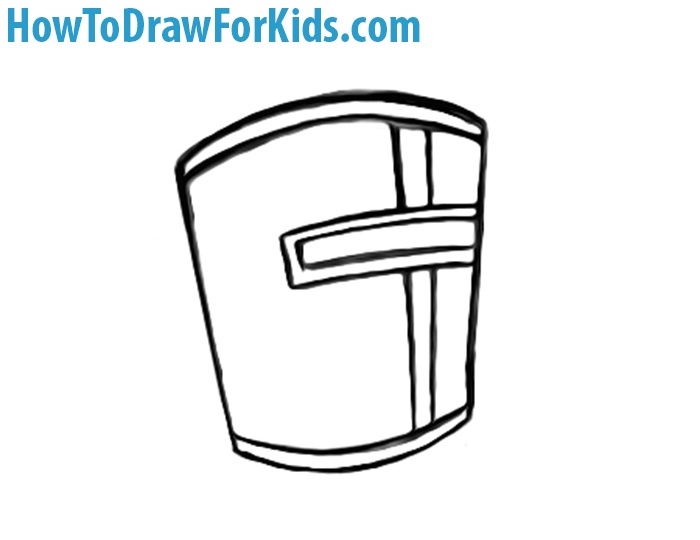
- Refine the helmet artwork.
Correct any irregularities and smoothing out uneven curves. If there are any guidelines or overlapping lines, gently erase them to clean up your drawing. This refinement process brings clarity and precision to your artwork, ensuring that each part of the helmet is distinct and accurately depicted.
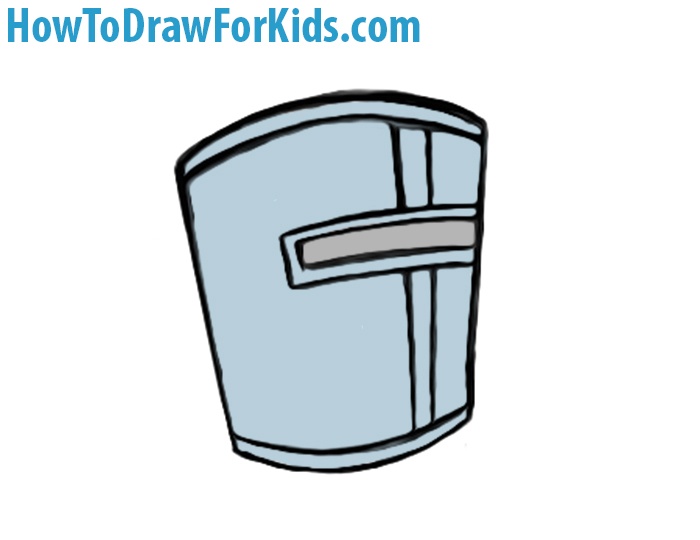
- Add some colors to your crusader helmet drawing.
Fill the helmet with a shade of blue-gray to mimic the look of polished steel. The visor can be a darker tone to create depth and the illusion of an opening. For a more dynamic look, you can add some lighter blue highlights to the upper brim and the sides where light would naturally reflect.


The sketching guide about how to draw a crusader’s helmet for kids is over. If you liked this sketching guide and you want to help us, then share it with your friends.
In the shortened version (which is also available on Pinterest), I have collected all the stages of this instruction so that it is easy to save this picture and share it with your friends.


Excellent tutorial!!! I love this site.